Why a Photo’s Edges Get Cut Off When You Print a PDF
Find the point where the edge disappears by comparing the original image, the saved PDF and one test print.
Download Advanced JPG to PDF FreeWindows installer · Download and setup details
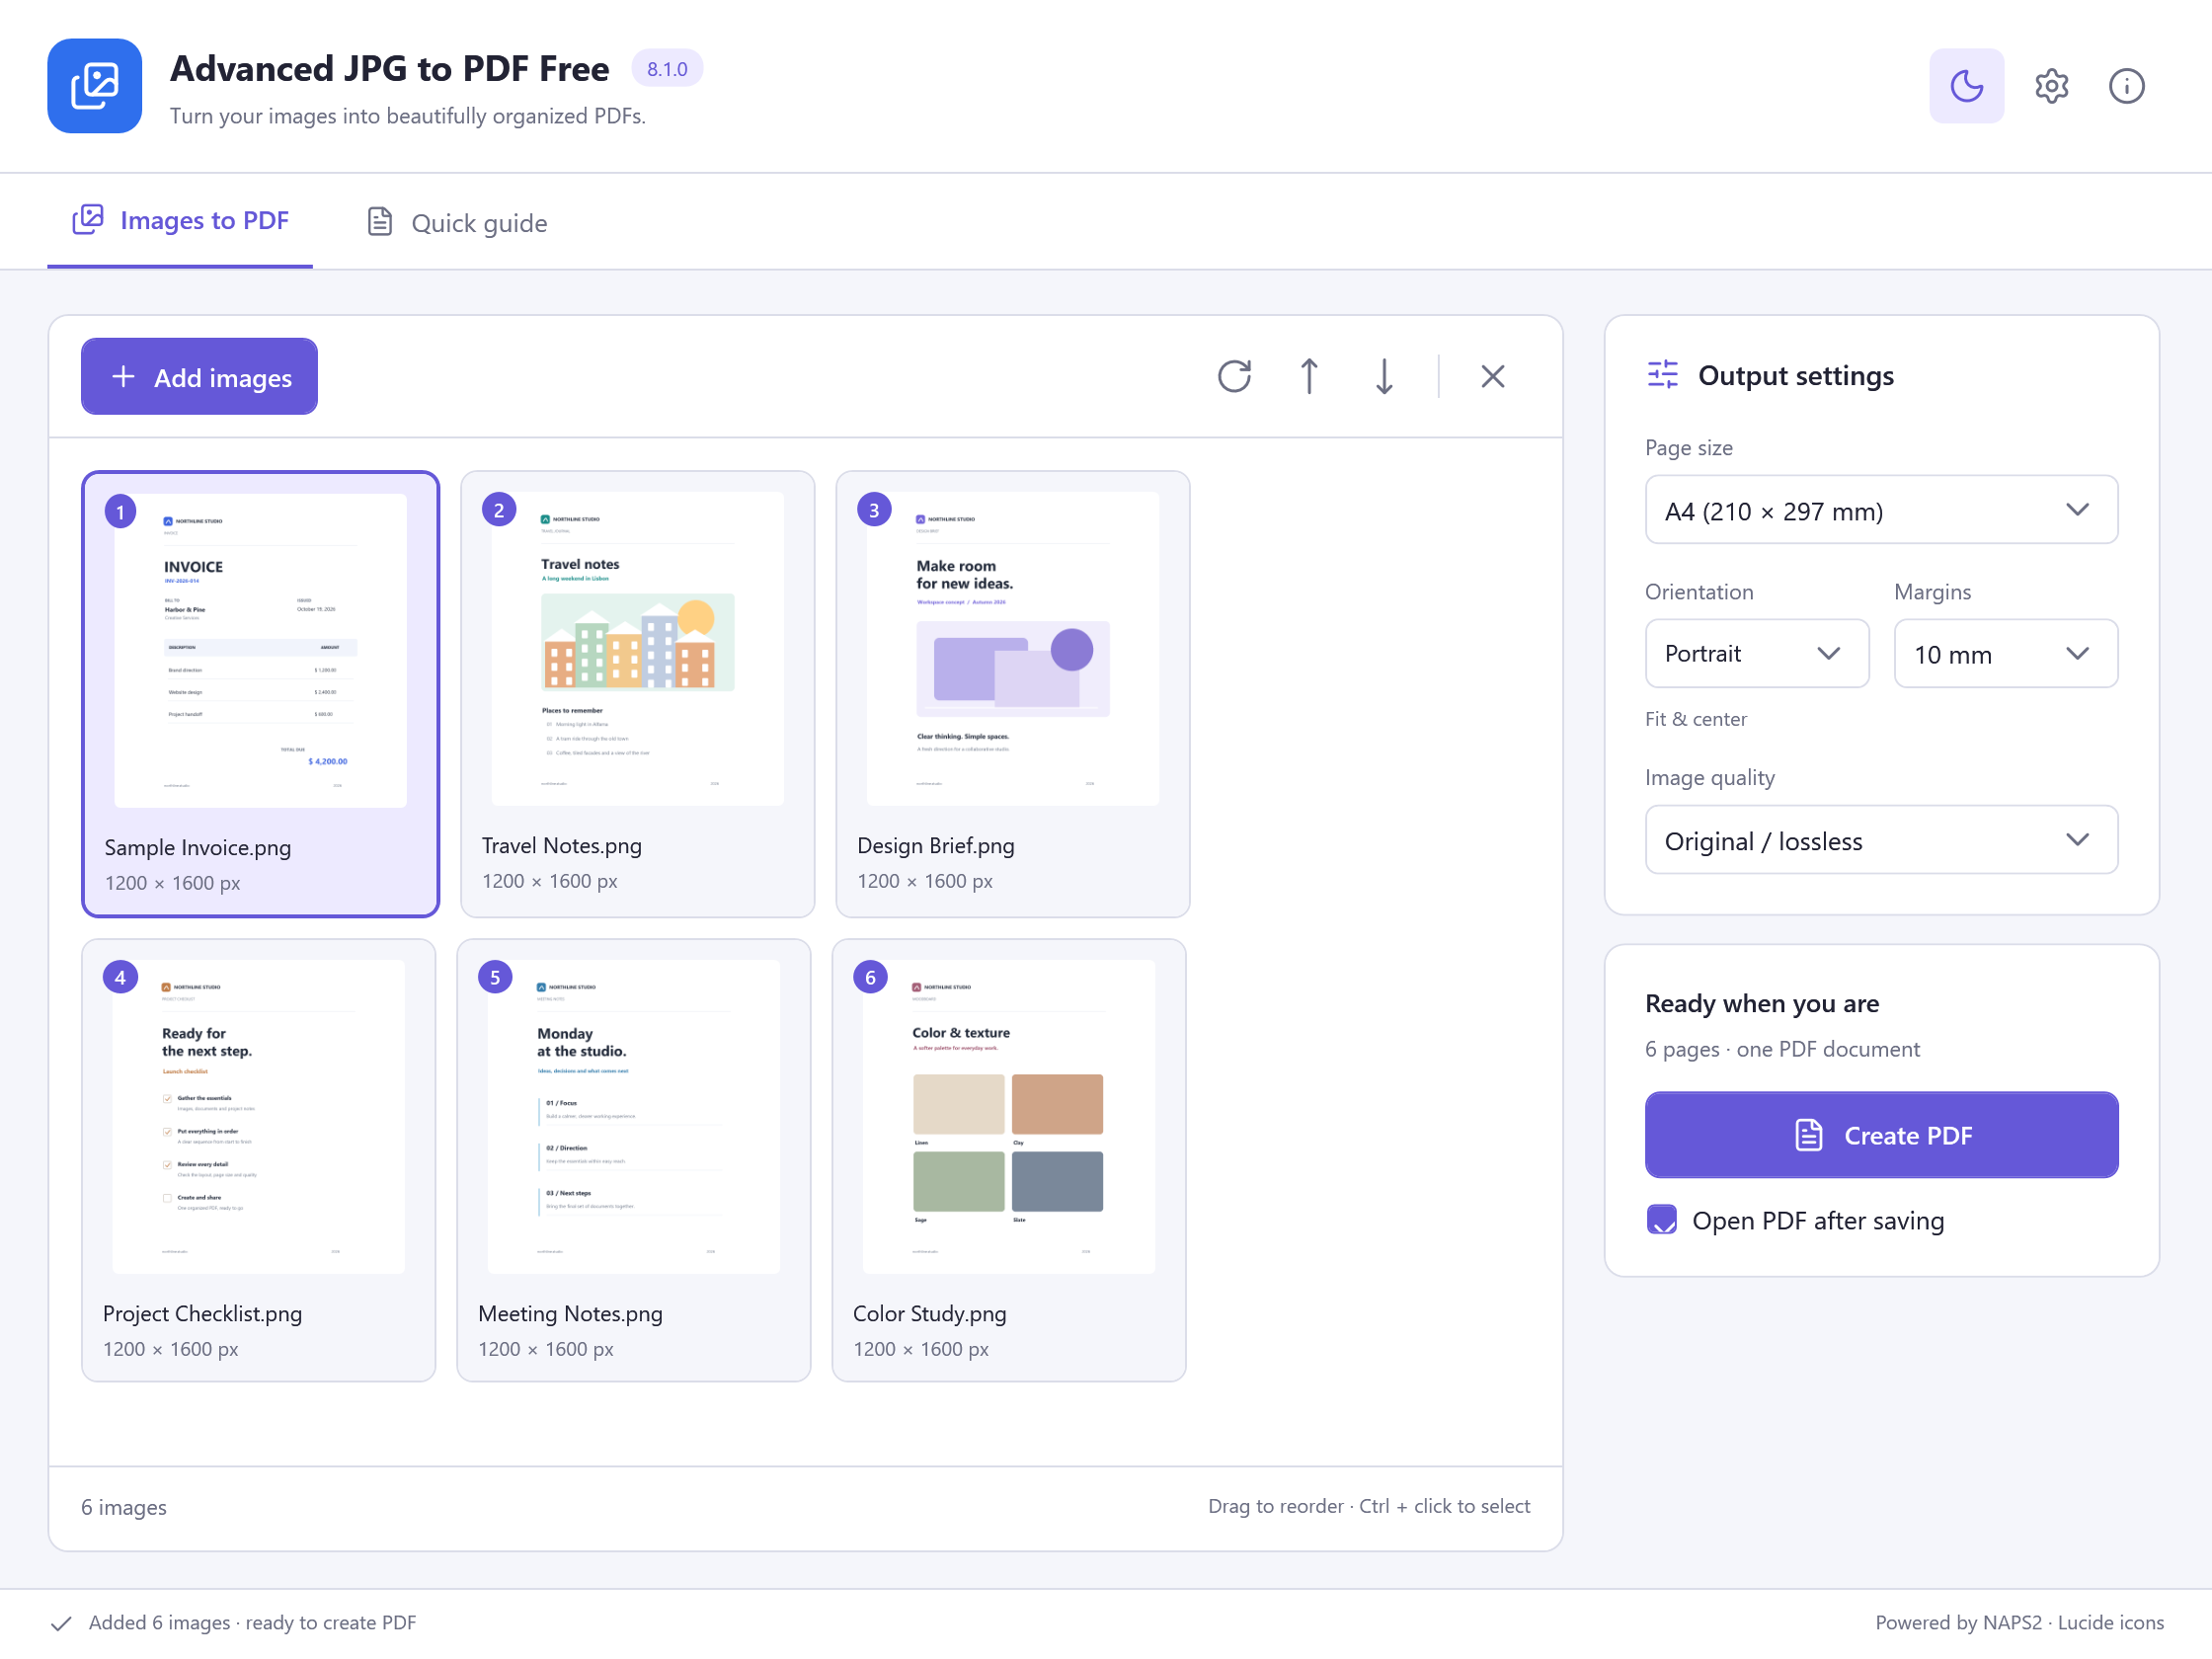
The photo looks complete on screen
A photograph of a handwritten form looks complete on screen, but the approval initials on the far right are gone from the printed sheet. Use the initials as your reference through all three checks.
Find where the edge disappears
- Zoom in on the right edge of the original photo. If the initials are already missing there, take a new photo with room around them. If they are present, check the same edge of the saved PDF before opening Print.
- If the saved PDF loses the initials, reopen the original in Advanced JPG to PDF Free. Keep the required paper size, choose an orientation that fits the photo, add a margin in Output settings and export a separate copy. Inspect the initials again at the same zoom.
- If the PDF contains the initials but the sheet loses them, check the paper size in the print dialog. Compare Actual Size with your viewer’s Fit option or equivalent in print preview, then print the affected page alone and check that all four edges are visible.
Check the scale on a test sheet
Fit can scale the image. If exact physical dimensions matter, measure a known feature on your test sheet. Use a compatible printer or a larger sheet where the submission allows it, then check the dimensions again.